.
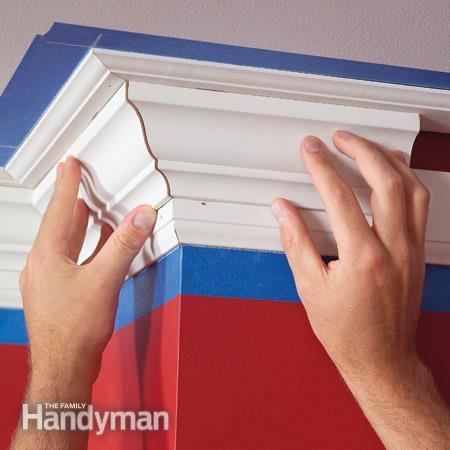
Practice Your Miters Before The Final Cut
Before nailing that piece of trim solid check the joint at the other end with a piece of scrap. You'll be amazed what you'll find some times. I sure wish they could build walls perfect.
.

“Practice on test pieces for the perfect miter
Fine-tuning a miter for a perfect fit is often a trial-and-error process. Practice on smaller test pieces until you get your miter saw set to exactly the right angle, then cut the actual parts.”
For more great tips head on over to the original article.
Read more: http://www.familyhandyman.com/carpentry/the-best-carpentry-tips-and-advice/view-all#ixzz3Q9B20uWn
Go to this next page for more great carpentry tricks in this series
— Click Here —


For wall miters it’s easier to have a premade cheap tool to figure out your angles. Take two free paint stirring sticks you’ve picked up from your hardware store, lay one on top of the other so they’re edges are flush and cut the handles off to square them up so there are no uneven surfaces on the edge. Clamping them together might help. Next drill a small 1/4″ hole in them and place a 1/4″ bolt with a washer through one, then a second washer, then the second stick, then a third washer on the outside and a wing nut to tighten and loosen them. Use this to figure out your angles for more precision. It takes far fewer attempts at practice cuts.
Love this. Thanks for sharing! Got some window trim to do this weekend so I got a great chance to try it out.
Great carpentry tips! I am especially interested in nippers. I have never even seen this tool before. My dad has tons of leftover trim from helping friends with demo projects. The problem is he cant store it with nails poking out everywhere. I will suggest that he use this tool.