‘
It's A Simple Process Just Follow These Steps In Order Along The Way
The first step is to chose your lumber and what order you are going to put the pieces in.
Then Cut the pieces to rough length ( 2-6 inches longer than the finished top).
Now You need a straight reference edge on one side of each board. If you don't have a fancy track saw you can make a guide for your circular saw. If the table top pieces are short enough you could joint them on the jointer.
You got one true edge. Next you need one true surface. Not many of us have the huge machine the guy who made this video has. So you might have to rip your boards narrower to work with the equipment you have. An extra glue joint down the middle of a board will hardly be noticeable because the wood grain patterns will match up pretty close.
Now that you have one flat face it's time to make both faces parallel and true on the thickness planer. All boards need to be brought to the same thickness.
Now that the wide faces are true you can use the table saw to make the final true cut to the edges.
Dry fit your boards. Make any adjustments to get a perfect fit.
It helps to have a means to keep the board edges aligned up and down. Either use the tenon machine shown in the video or use a biscuit jointer or you could cut a slot with a router and fill the slot with a spline. You could use nothing and have several wood culls clamped top and bottom to hold the boards in alignment while gluing.
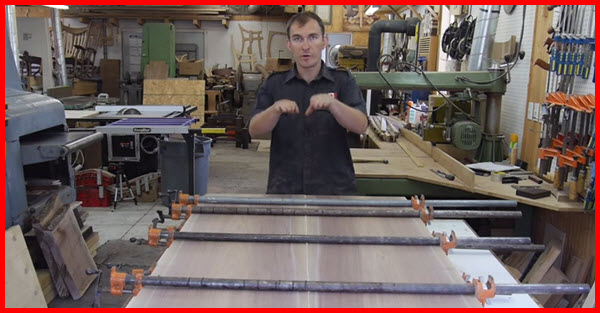
Glue and clamp your top together and your done, ready for the final scraping and sanding.
.
Watch The Video To See How These Pros Do It
.
Next Page »
Pages: 1 2